
Remember when I mentioned that I wanted to do a classroom flip? I said it here. Well, I'm on my way to completion as far as making furniture for it. Before I show you the other things I made, let me show you this cute Share Chair. I know it's a stool but bear with me I have a small classroom. I just love how it turned out!

This is how it started. Just a plain, unassuming stool. I got this one at Walmart for like $20, but you can pick one up on Amazon. I added the links to everything at the bottom. They are affiliate links. I get a tiny commision if you buy and it doesn't cost you anything. Alms for the poor, please. (British accent)

First I spray painted the seat with just regular white spray paint that I already had on hand. Please ignore my garage in the background. After the paint dried, I used a level to create straight blue lines across like paper. I also had blue paint on hand. Score! Tip: Use less paint because it may run under the level. Hindsight 20/20 use a paint pen for this. Learn from me.

I made the red margin line with red nail polish. Don't judge. I ran out of red paint, or so I thought. It worked just fine. I wanted to put a big A+ on it, but then I thought it would look too busy.

Next, I taped off the legs and painted the eraser tops. I measured so the "pencils" would look even. This is just acrylic paint in like an orangy pink color.
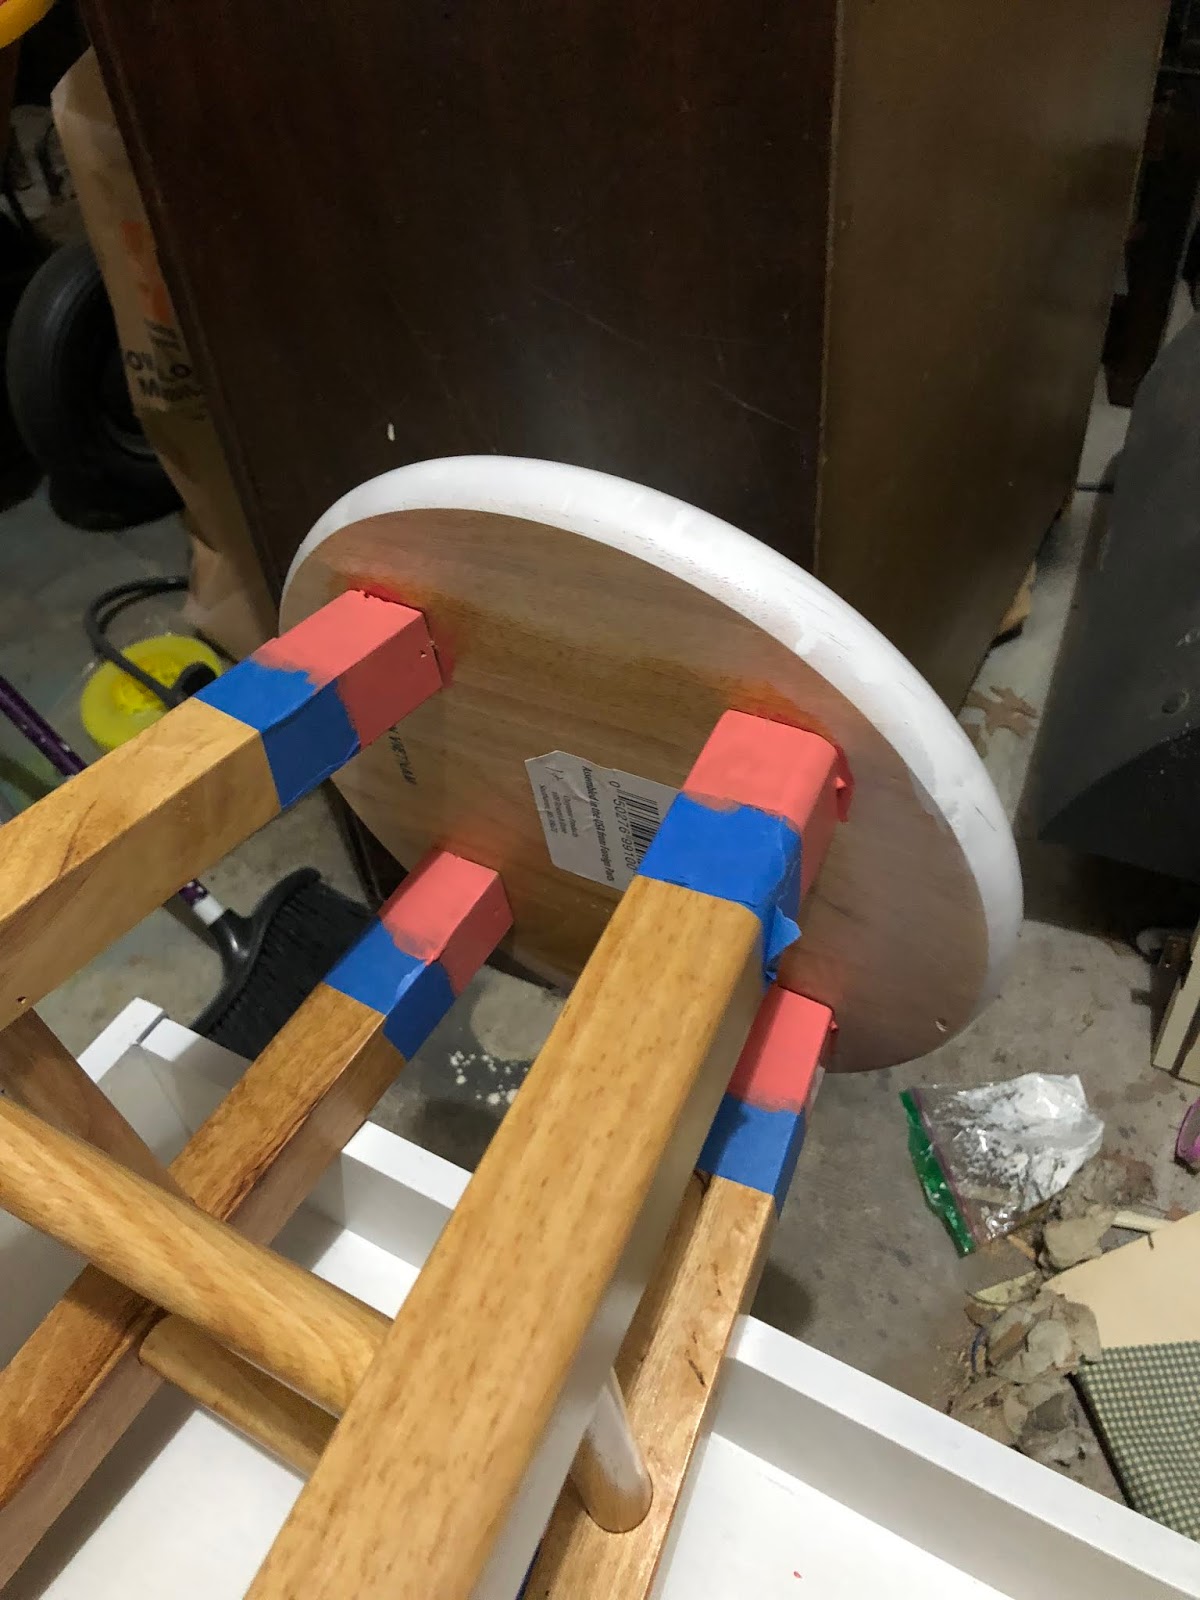
Here's what they looked like done. I left the painter's tape on there and painted the legs yellow.

This is how I taped the bottom of the legs because I wanted to give it that scalloped edge you get when you sharpen a pencil. I just cut the design out of the painter's tape. I painted the legs yellow as you can see.

I wanted to give the metal part of the pencil a realistic look, and I had silver leaf on hand. While I'm pleased with the results, let me just tell you working with this is not for the faint-hearted. It's very thin and just ugh just don't. Hindsight 20/20 this is the perfect time to use a paint pen or heck even silver duct tape or better yet use the silver tape used for actual air ducts. I will link to everything at the bottom in case you don't feel like aimlessly walking the aisles of your Walmart or Home Depot. I always spend more when I go searching for something in the stores.

Okay, so this is the finished product. I didn't take a picture of how I did the bottom of the legs, but basically, I left the bare exposed wood and painted the bottoms with some charcoal colored paint I had on hand. Then I went over the little-scalloped edge with a paint pen. (That's when I discovered how much easier it would've been had I used it on the seat.) But wait, Nydia, how did you make the crayons? I suck at life honestly. I forgot to take pics of that in the frenzy and excitement of wanting it done. Maybe it was the paint fumes. Who knows? So mainly, I painted each one a different color. I let them dry. Then I went back to each paint and mixed a tiny bit of white to lighten the colors slightly. I painted the lighter color leaving the darker color on the ends. Crayon wrappers are usually lighter than the crayon itself. The black part on the crayons is just self-stick vinyl that I cut from scraps.

So there you have it, folks. I should mention that I polyurethaned the bejesus out of this because I know many butts and shoes will come into contact with it.
Here's What You'll Need
- Plain Wooden Stool
- Paint (blue, white, yellow, black, pink, silver, red, orange, green)Paint markers (optional)
- Duct tape (optional)
- Silver Leaf (optional)
- Polyurethane
- Paintbrushes
- Vinyl (optional)
Check out these other things I made for my classroom. You can find them over on Teachers Pay Teachers in case you're not feeling particularly crafty and just want it done for you. LOL

These are my book bin labels. You can get them here.

These are my letter banners. I use them for decorating above bulletin boards, making back to school welcome signs, etc. You can get them here.


These are my alphabet posters. I hang them up above the whiteboard. They really pull together the colors in my room and add interest to that empty space above the board. You can get them here and here.

This is my teacher toolbox. You can get the labels here.
Here's a picture for you to share on Pinterest. Sharing is Caring!

Thanks for stopping by!

What height stool did you use for this project or would you recommend? This is a gift for a young teacher in our family.
ReplyDeleteCan you give an update on how your chair held up?
ReplyDelete